Overview
Coding analysis (Population, Unit Level, Course Section, Chapter Level) is available for most assessments. Ordering coding allows you to receive additional analysis on populations you define.
For more specific information on the different Coding types (Population, Unit level, Course Section, Chapter Level), or how to preload coding prior to launch, please see the help article How to Preload Coding (Unit level, Population, Course, Chapter)
From the My Account landing page, find the order for which you need to add Coding (Unit Level, Population, Course, Chapter). Click on the Task List button.

Then click the Coding link or Go button.

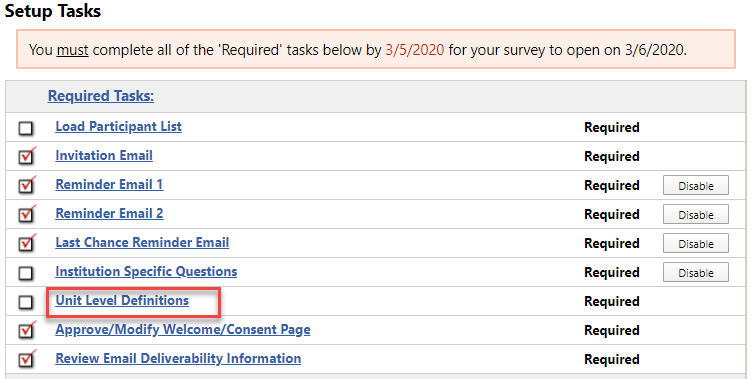
You may also access the Coding (Population Code, Unit Level, Course Section, Chapter Level) links from the Manage Survey tab on the Setup Task List by clicking on Unit Level Definitions.
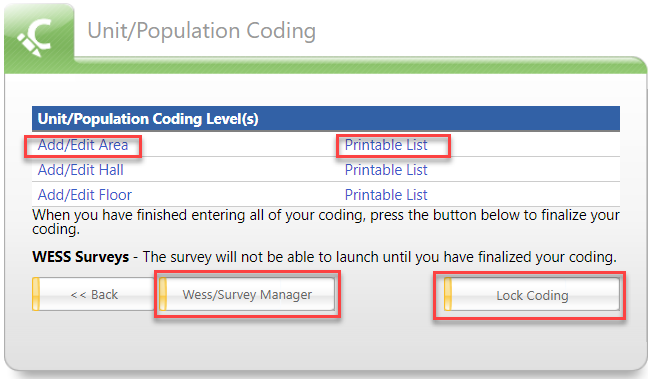
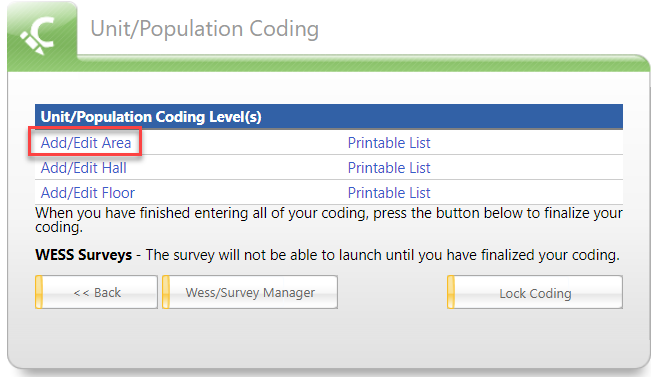
Click the Add/Edit Coding (Population Code, Unit Level, Course Section, Chapter Level) type to be used. Please note this language will change depending on what coding was ordered.
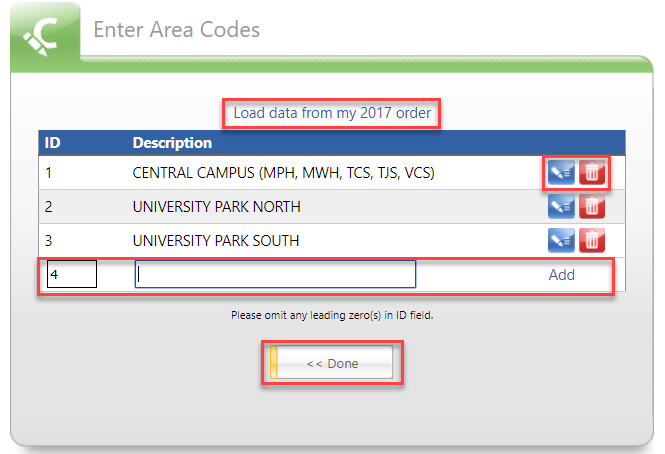
Click the Add link and enter the Description for each ID. The ID is the value saved in our database. The blue pencil button will allow you to edit and the red trash button will delete. You are also able to load coding from a previous year’s order (if applicable) by clicking "Load data from my XYZ order". Click Done when you are finished.
You may click on the Printable List to view your coding. Click on Manage Survey to be returned to the Survey Setup list. When you are done entering coding, click the Lock Coding button to finalize your coding. The coding must be locked prior to launch. If you need to make changes after locking your coding please contact support.